Last updated November 21, 2026
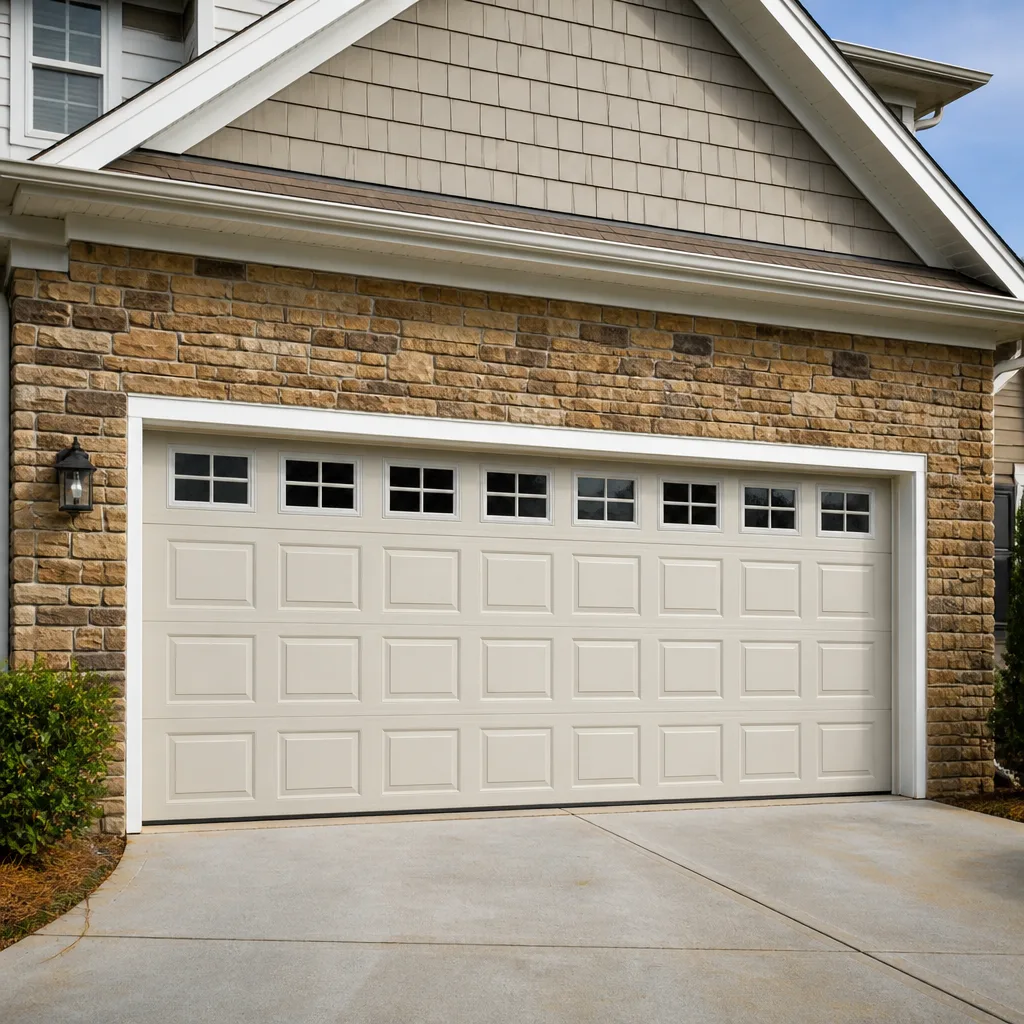 Raised-panel steel
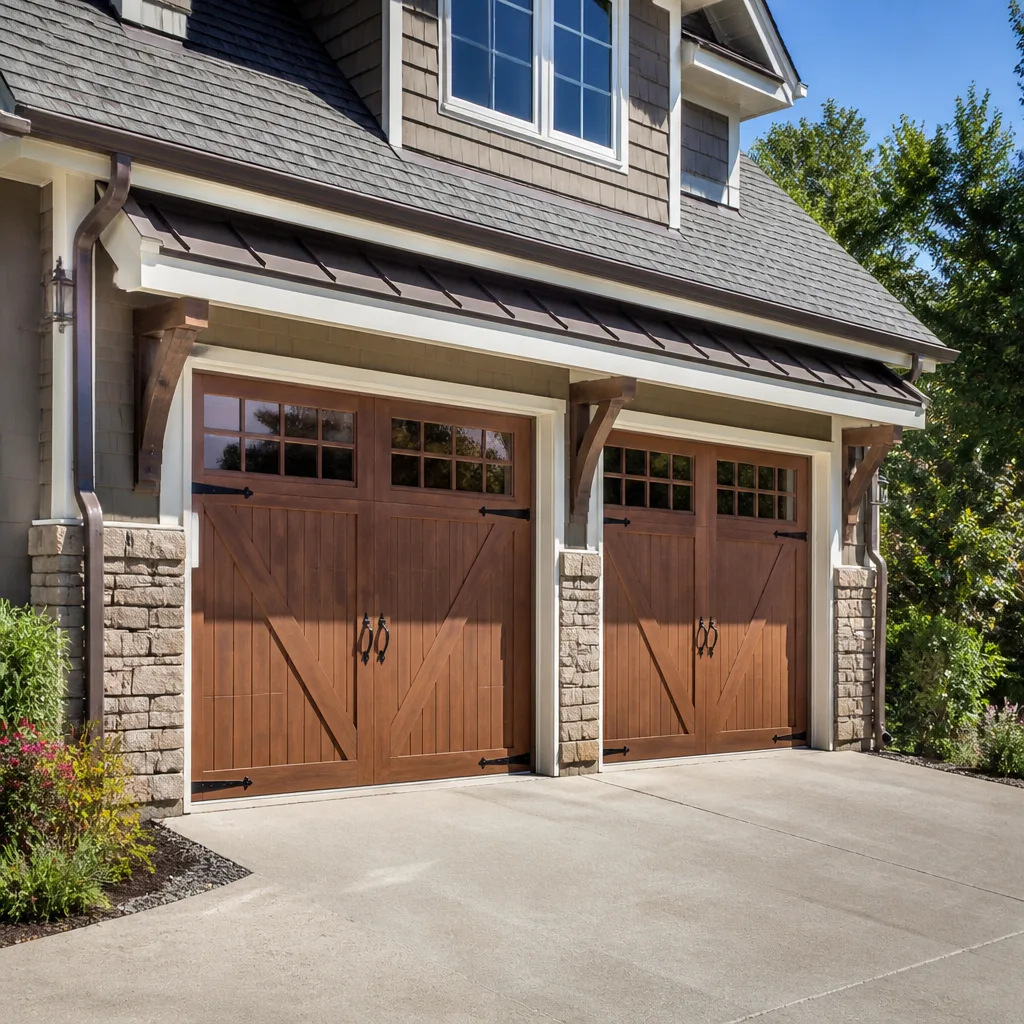 Carriage house
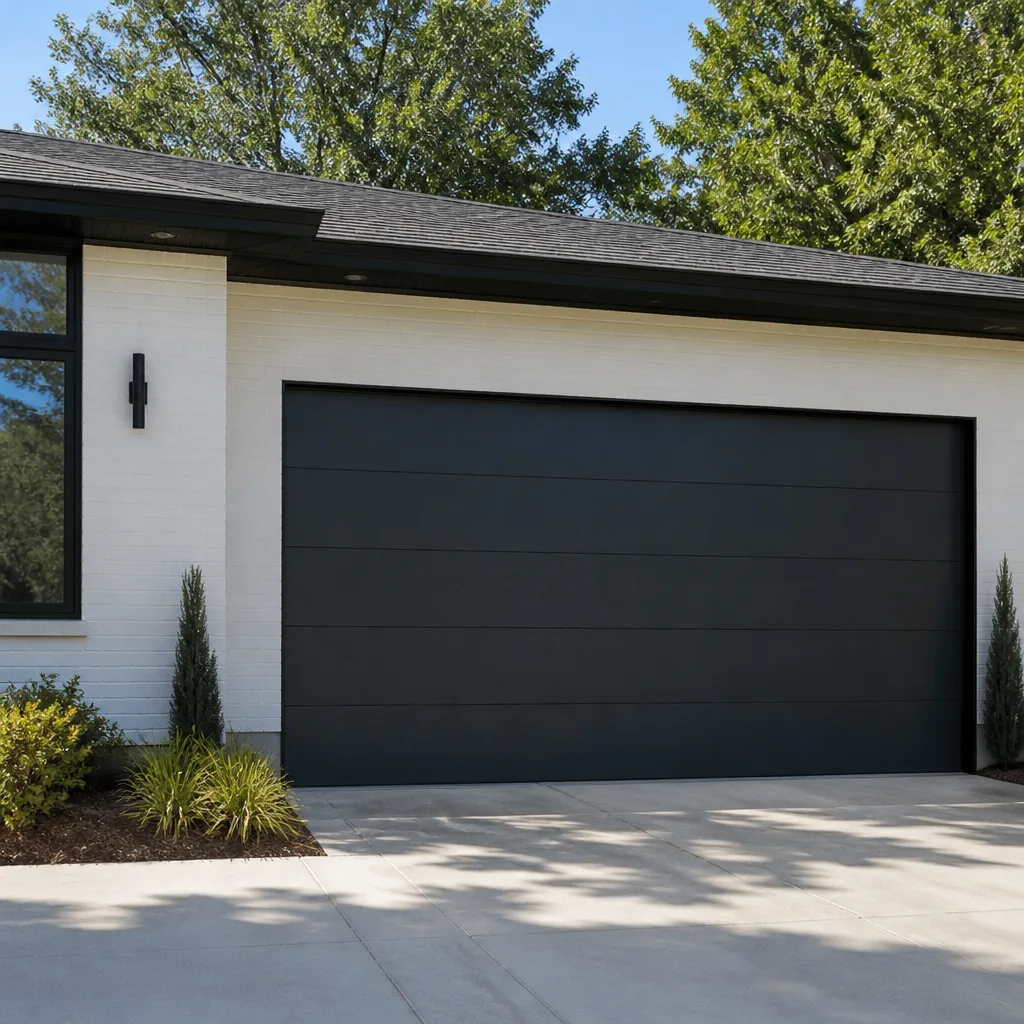 Modern flush
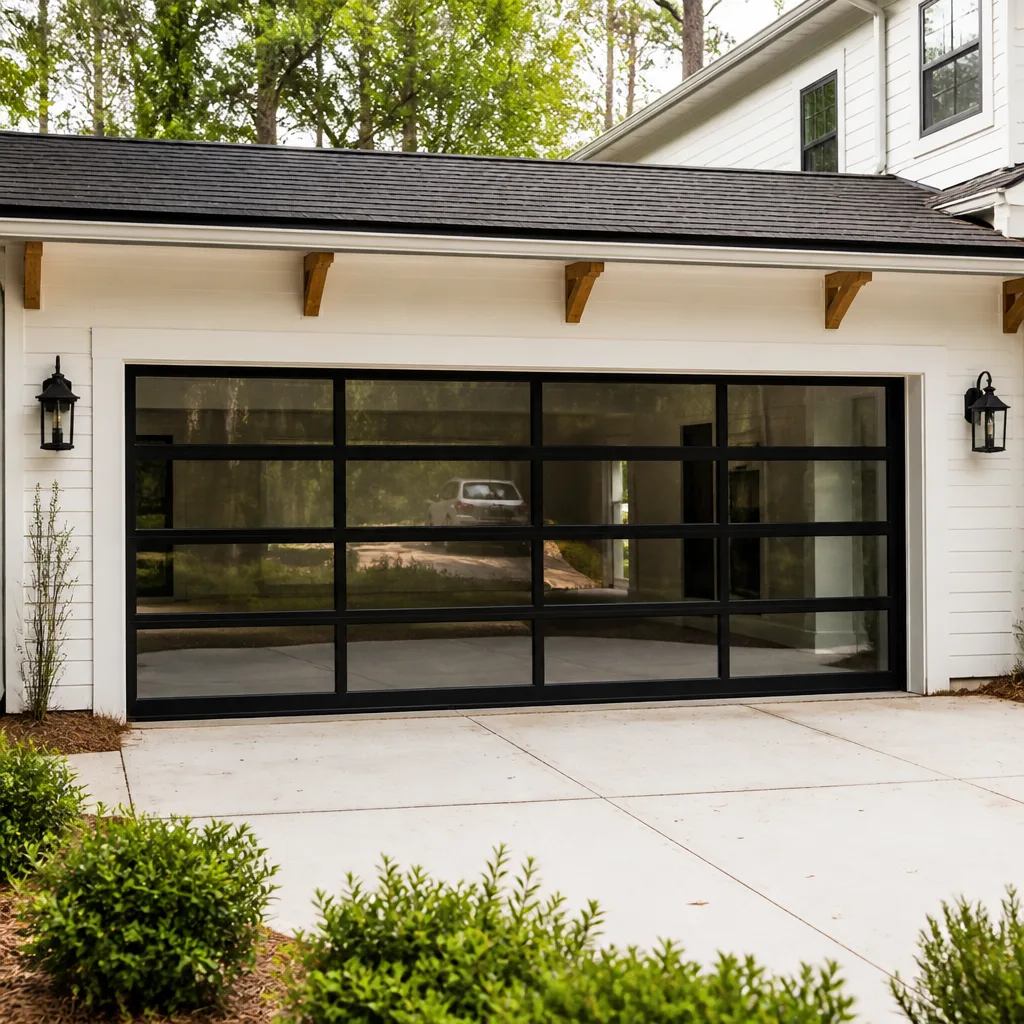 Full-view glass
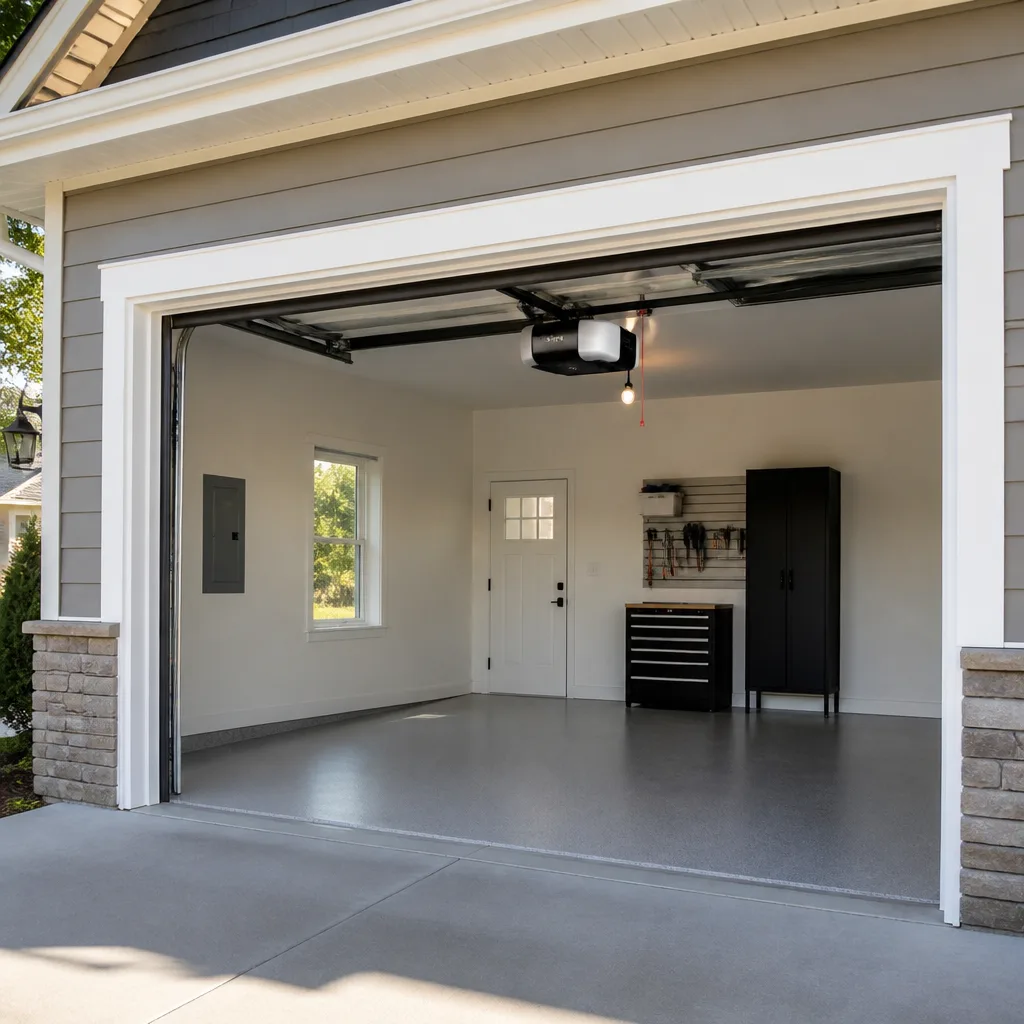 LiftMaster openers
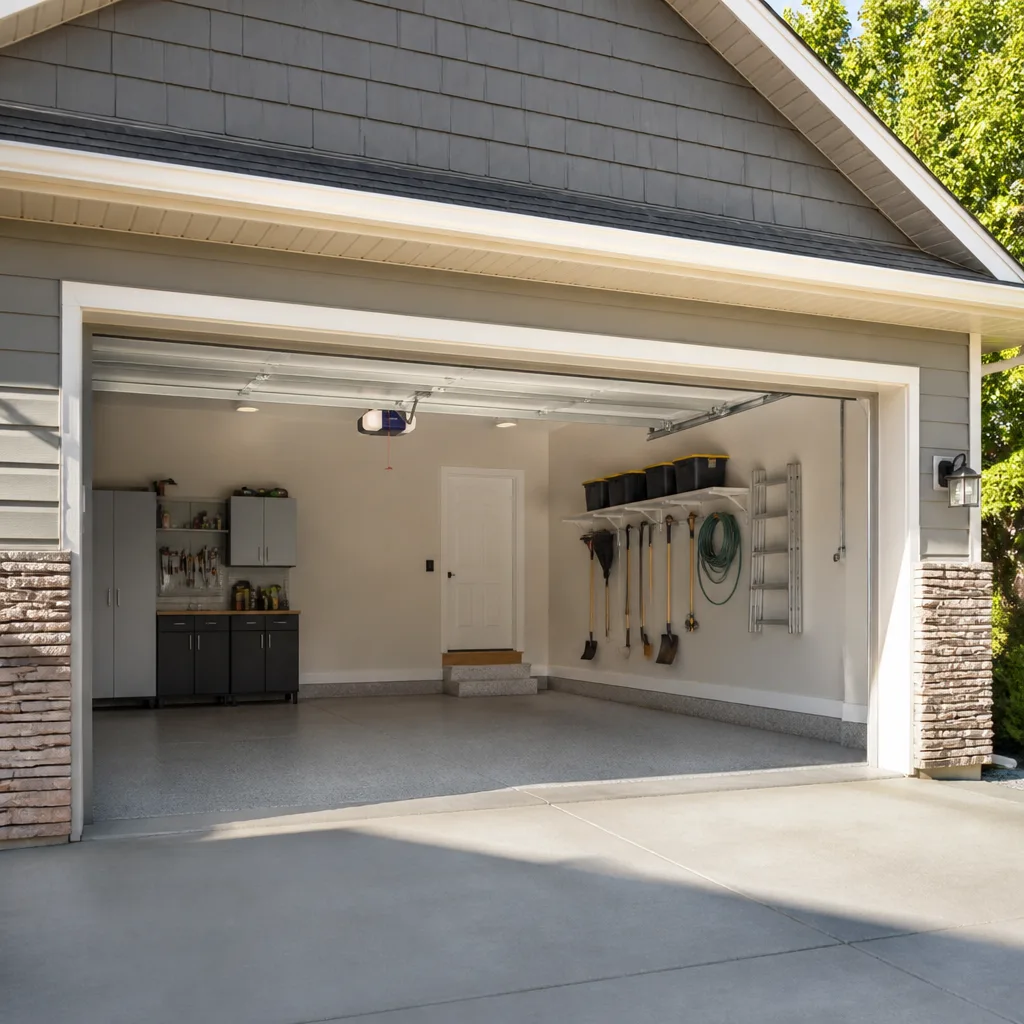 Chamberlain openers
Full 25-point door and opener safety check with every visit - springs, cables, rollers, tracks, and your LiftMaster or Chamberlain opener included
You get a price before we start. It does not change when the pro arrives.
Get your free estimateDIY vs Professional Garage Door: The Ashburn Homeowner’s Decision Guide
Torsion springs store enough energy to cause permanent injury in a fraction of a second. That’s not a liability disclaimer – it’s physics. Everything else on a garage door is a conversation. Some of it you can absolutely handle yourself, some of it needs a tool you probably don’t own, and a small, specific slice of it should never be a solo project no matter how handy you are. This guide draws that line task by task, so you can decide where your own skills stop and a specialist starts. We’ll cover what a tutorial actually teaches, what DIY rework really costs, and how a partial approach – you handle diagnosis and prep, a pro handles the mechanical work – often makes the most sense for an Ashburn homeowner.
Quick Answer
Most garage door maintenance, lubrication, and safety-eye alignment are safe DIY projects for a careful homeowner. Torsion spring replacement, cable replacement, and any work involving the door under tension are not – those carry genuine injury risk and belong with a trained technician. Everything in between depends on your tools, your comfort with the door under load, and whether the repair touches the counterbalance system.
Styles & brands we work with
- Raised-panel steel
- Carriage house
- Modern flush
- Full-view glass
- LiftMaster openers
- Chamberlain openers
Table of Contents
- Where the DIY Line Actually Falls
- What Homeowners Can Safely Handle
- What Requires a Professional, No Exceptions
- The Tools Question: What You Need vs. What You Have
- What a YouTube Tutorial Prepares You For (And What It Doesn’t)
- The Real Cost of DIY Mistakes
- The Partial DIY Approach: Prep and Diagnosis Yourself
- Liability Considerations for Ashburn Homeowners
Where the DIY Line Actually Falls
The garage door industry has a strange habit of treating every repair as equally dangerous. It isn’t. A squeaky roller and a snapped torsion spring are not the same category of problem, and pretending otherwise makes homeowners either unnecessarily cautious or dangerously bold. Here’s the honest split.
The counterbalance system – springs and cables – is the part of your door that stores force and releases it. A torsion spring under tension holds hundreds of pounds of door weight. When it fails, it fails instantly, and the force it releases doesn’t care whether you were warned. That’s the hard line. Anything that requires you to adjust, remove, or replace a component of the counterbalance system is professional work.
Everything outside the counterbalance system is situational. Rollers, hinges, weather seals, photo-eye alignment, remote programming, track bolts that have worked loose, and general lubrication fall into a range from “definitely DIY” to “DIY if you’re careful with a ladder.” The trick is knowing which category you’re in before you start.
In Ashburn, the climate adds a wrinkle. Cold winters make metal contract and springs work harder; hot summers expand wooden door panels and can throw off track alignment. That seasonal swing means a door that felt fine in October might bind in January. If you’re doing any inspection, do it once in cold weather and once in warm, not just when something breaks.
What Homeowners Can Safely Handle
These tasks are within reach for a reasonably careful homeowner with a stepladder and basic hand tools. They’re also the tasks that keep a door running longer, which means fewer of the expensive repairs down the road.
- Lubrication. A garage door has rollers, hinges, and a torsion bar that all benefit from a proper garage door lubricant (not WD-40, which attracts dust). Two or three times a year is plenty.
- Photo-eye alignment. The two small sensors at the bottom of the tracks should face each other and both show a solid light. If one is blinking, it’s misaligned or obstructed. Nudge it back into place, wipe the lens, and check the light.
- Weather seal replacement. The rubber or vinyl strip along the bottom of the door wears out and lets in drafts, water, and pests. It slides into a retainer and can be swapped with basic tools.
- Remote and keypad programming. Every opener brand has a programming sequence – LiftMaster, Chamberlain, Genie, and Crafters all differ slightly, but the manual or a quick search gets you there.
- Visual inspection. Look for frayed cables, worn rollers, loose bolts, and doors that don’t close flush. Catching a problem early is the cheapest repair you’ll ever make.
- Track bolt tightening. Loose bolts on the vertical and horizontal track brackets can usually be snugged up with a socket set.
One rule applies to all of these: if a task requires you to disconnect the door from the opener or work on the door while it’s raised, stop. That’s not maintenance anymore.
What Requires a Professional, No Exceptions
Some repairs should never be a DIY project, regardless of skill level, tool collection, or confidence. These are the jobs where the failure mode is an injury, not an inconvenience.
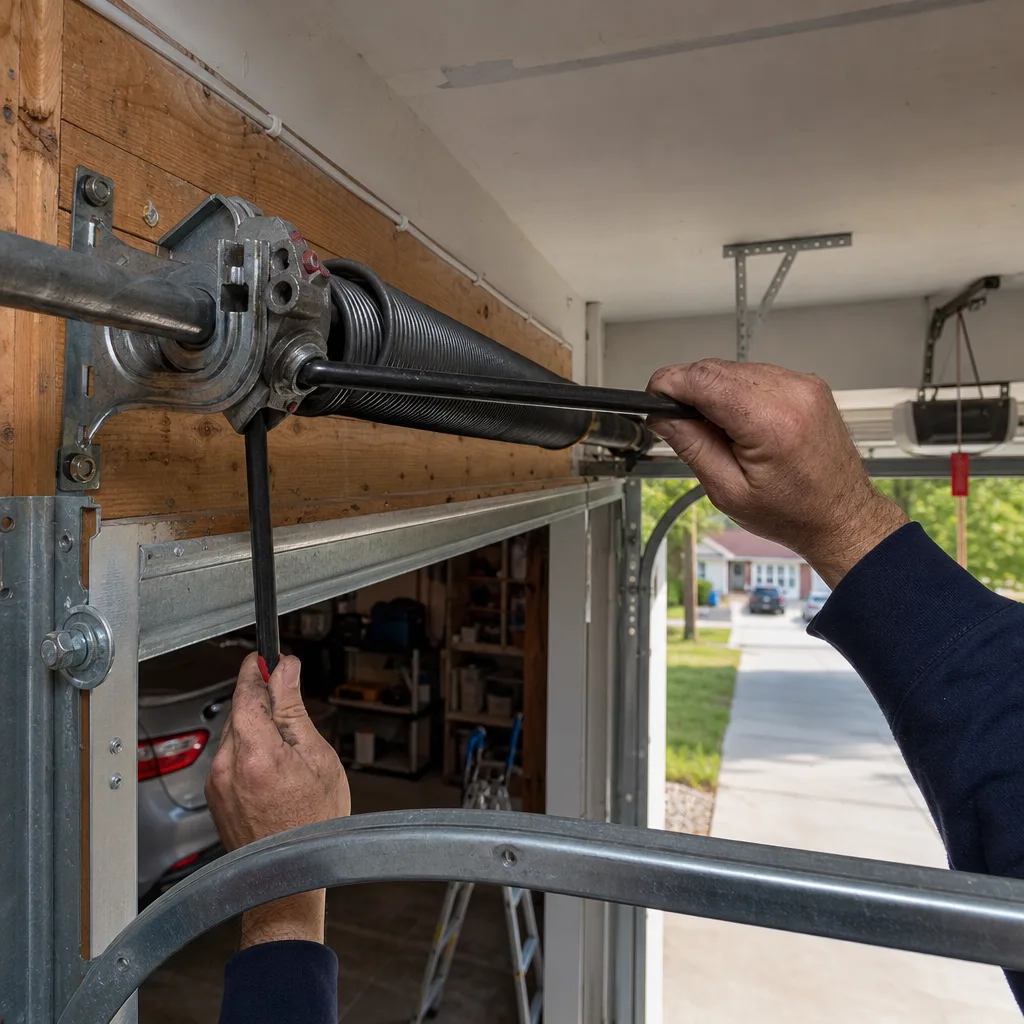
Torsion spring replacement tops the list. A torsion spring is wound under enormous tension, and the two winding bars used to release that tension are specialty tools. Amateur attempts to wind or unwind a spring without the correct technique and bars are how people lose fingers. Our garage door repair team handles spring work as a core service for exactly this reason.
Cable replacement is the second. Cables are what actually lift the door, and they’re under load every time the door moves. A cable that snaps while you’re working near it can whip with enough force to break bone.
Track replacement or major realignment comes next. A door that has jumped its track is holding weight at an angle, and prying it back into place without releasing the tension first is a good way to get hurt or damage the door further.
Opener replacement or major opener repair – especially the logic board, capacitors, or the drive gear – is on the list too. These involve the electrical side of the system and the load side simultaneously. If your opener is failing, our garage door opener repair service handles the diagnosis and the fix.
Panel replacement on a door with a damaged section is borderline. The panel itself is heavy, and removing it without releasing spring tension changes the balance of the door. On newer doors from Amarr or Wayne Dalton, panels are also matched to the specific door model – a mismatched panel can throw the balance off.
The Tools Question: What You Need vs. What You Have
Most DIY advice assumes you have a garage full of tools. Most homeowners have a hammer, a drill, and a socket set. Here’s the honest gap between a typical home toolbox and what each task actually requires.
- For lubrication and seal replacement: a stepladder, a rag, and a tube of garage door lube. You already own everything else.
- For photo-eye work: a screwdriver and possibly a small level. Nothing specialized.
- For a torsion spring: two winding bars (specific to the spring size), a C-clamp, safety glasses, and a working knowledge of how to lock the door in place before releasing tension. Most homeowners don’t own winding bars, and buying them for a one-time job costs more than the labor on the repair.
- For a cable replacement: the same bars, plus a cable puller and a technique for re-tensioning without the door dropping. This is not a task a toolkit solves.
- For opener diagnostics: a multimeter and a working knowledge of low-voltage circuits. Even with both, a failed logic board is a replacement, not a repair.
The practical rule: if the job requires a tool you don’t own and won’t use again, that’s the moment the DIY math stops working. The tool purchase plus the risk of a failed first attempt usually costs more than the repair itself.
What a YouTube Tutorial Prepares You For (And What It Doesn’t)
Tutorials are genuinely useful. They show you what the inside of your opener looks like, how a photo-eye is mounted, and what a healthy spring sounds like. That context is real. But a video is a demonstration, not a training, and the gap between the two shows up at exactly the point where it matters.
What a tutorial does well: shows you the layout of your specific opener model, demonstrates the order of operations for a task, tells you which bolts not to touch, and helps you diagnose what’s actually wrong before you call anyone. That diagnosis is worth something – a homeowner who knows their spring is broken rather than their opener is in a much better position to get an accurate estimate.
What a tutorial can’t do: feel how much tension is left in a spring, hear the difference between a normal roller squeak and a failing bearing, or tell you when your particular door’s age and wear pattern make the standard method unsafe. A video shows one door in one condition. Yours is different.
The other limit is harder to name: a video can’t give you the muscle memory that keeps your hands out of the way when a spring releases. Our technicians have up to 10 years of experience, and a good part of that experience is knowing exactly where not to put a hand. That’s not something a screen can teach.
Use tutorials for diagnosis and for the safe tasks. Don’t use them as a substitute for the training that comes from doing the job hundreds of times.
The Real Cost of DIY Mistakes
The scary stories about DIY garage door disasters aren’t the useful ones. The useful ones are the ordinary rework scenarios that end up costing more than the original professional quote would have. None of these involve a hospital visit – just a second bill.
Scenario one: the wrong spring. Springs are spec’d to a specific door weight, and the wire gauge and inside diameter matter. A homeowner who orders by “looks the same” often gets a spring that’s close but not right. The door winds unevenly, the opener works harder, and the spring fails early. The rework is a second spring plus the labor, and the first one is scrap.
Scenario two: the cross-threaded track bolt. Snugging a loose bolt is easy; over-tightening it until the track bows is also easy. A bowed track means the door binds on one side, which wears the rollers and stresses the opener. Fixing that is a track realignment, which is a bigger job than the loose bolt ever was.
Scenario three: the mis-programmed opener. A remote that won’t pair because the wrong sequence was used is a minor frustration. A remote that pairs to the wrong channel and opens a neighbor’s door in a dense Ashburn subdivision is a bigger problem.
Scenario four: the seal that doesn’t seal. A bottom seal installed backwards or the wrong width lets in water. Over a winter, that water freezes at the base of the door and can crack the panel or warp the frame. The cost of the seal was small; the cost of the door panel isn’t.
The pattern in every one of these is the same. The DIY attempt doesn’t fail instantly – it fails months later, when the consequence is bigger and the connection to the original repair is harder to see.
The Partial DIY Approach: Prep and Diagnosis Yourself
There’s a middle path that most guides ignore, and it’s often the smartest one. You handle the diagnosis and the prep work; a specialist handles the mechanical execution. You save money on the parts you can source and the labor you can do, and you avoid the risk on the tasks that need training.
Here’s how a partial approach usually plays out for an Ashburn homeowner:
- You diagnose. Listen to the door, watch it operate, check the photo-eyes, and test the opener. Note whether the problem is noise, binding, a partial opening, or a total failure. A tutorial helps here.
- You handle the safe prep. Clear the garage floor, move the car, and check that the door is locked out from the opener before any work begins. Note the door brand – Clopay, Amarr, Wayne Dalton, Craftsman – and the opener model.
- You call for a diagnosis and quote. A specialist confirms what’s wrong and gives you a written price. This is where a partial approach pays off: you’re not paying for a diagnostic visit you could have done, and you’re getting an accurate quote instead of a guess.
- You do the non-mechanical tasks yourself if you want. Lubrication, seal replacement, and remote programming can happen on your schedule.
- The specialist handles the mechanical execution. Springs, cables, tracks, and opener internals get done once, correctly, by someone with the tools and the training.
The advantage is real. You keep control of the parts of the job you’re actually equipped for, and you stop guessing on the parts that carry risk. Our Garage Door Repair Ashburn team works this way with a lot of local homeowners – the diagnosis comes in, the quote is written, and the work happens without the guesswork.
Liability Considerations for Ashburn Homeowners
This is the part most DIY guides skip, and it matters more than people expect. If a DIY repair contributes to an injury or property damage on your property, the consequences aren’t only physical – they’re financial and legal.
If a guest is injured. A garage door that drops unexpectedly because a DIY spring repair was done incorrectly is a hazard on your property. Homeowner liability typically covers injuries to guests, but a claim where the door was recently and improperly repaired by the homeowner can complicate the coverage. The insurer will ask who did the work and whether it was done to standard.
If a vehicle is damaged. A door that comes down on a car because the safety reverse was misadjusted is a claim against your homeowner policy. Most policies cover it, but the deductible and the premium impact are real costs the DIY savings don’t offset.
If the door damages a neighbor’s property. Less common, but a door that swings off its track and into a shared fence or a neighbor’s car is a liability question that lands on you as the property owner.
If you sell the home. A DIY repair that isn’t documented can come up in a home inspection. A door with a nonstandard spring or a misaligned track is a negotiating point, and buyers in the Ashburn market ask for repair credits.
The practical takeaway is straightforward: the tasks that carry injury risk also carry liability risk, and the two overlap almost perfectly. If a task is on the pro-only list, the liability question answers itself.
Common Mistakes to Avoid
- Assuming a noisy door needs a new spring. Most garage door noise comes from worn rollers and dry hinges, not the springs. Lubricate first, then diagnose.
- Using WD-40 instead of garage door lube. WD-40 is a solvent, not a lubricant, and it attracts dust that accelerates wear. Use a proper garage door lubricant.
- Disconnecting the opener and lifting the door by hand to “test” it. A door under tension that you lift without locking out the opener is a door that can come down on you. Lock it out first.
- Buying a spring by appearance. Springs are matched to door weight by wire gauge and length. An appearance match is not a spec match, and a mismatched spring wears out fast.
- Adjusting the safety reverse by feel. The reverse should stop and return the door when it meets an obstruction. A misadjusted reverse is the most common cause of a door that closes on a car.
- Ignoring a door that doesn’t close flush. In an Ashburn winter, a door that doesn’t seat properly lets cold air and water in. That’s a small fix now and a bigger one later.
- Calling a generalist for a brand-specific repair. A door from Amarr or Raynor has specific parts and specific adjustment points. A specialist who works those brands daily gets it right the first time.
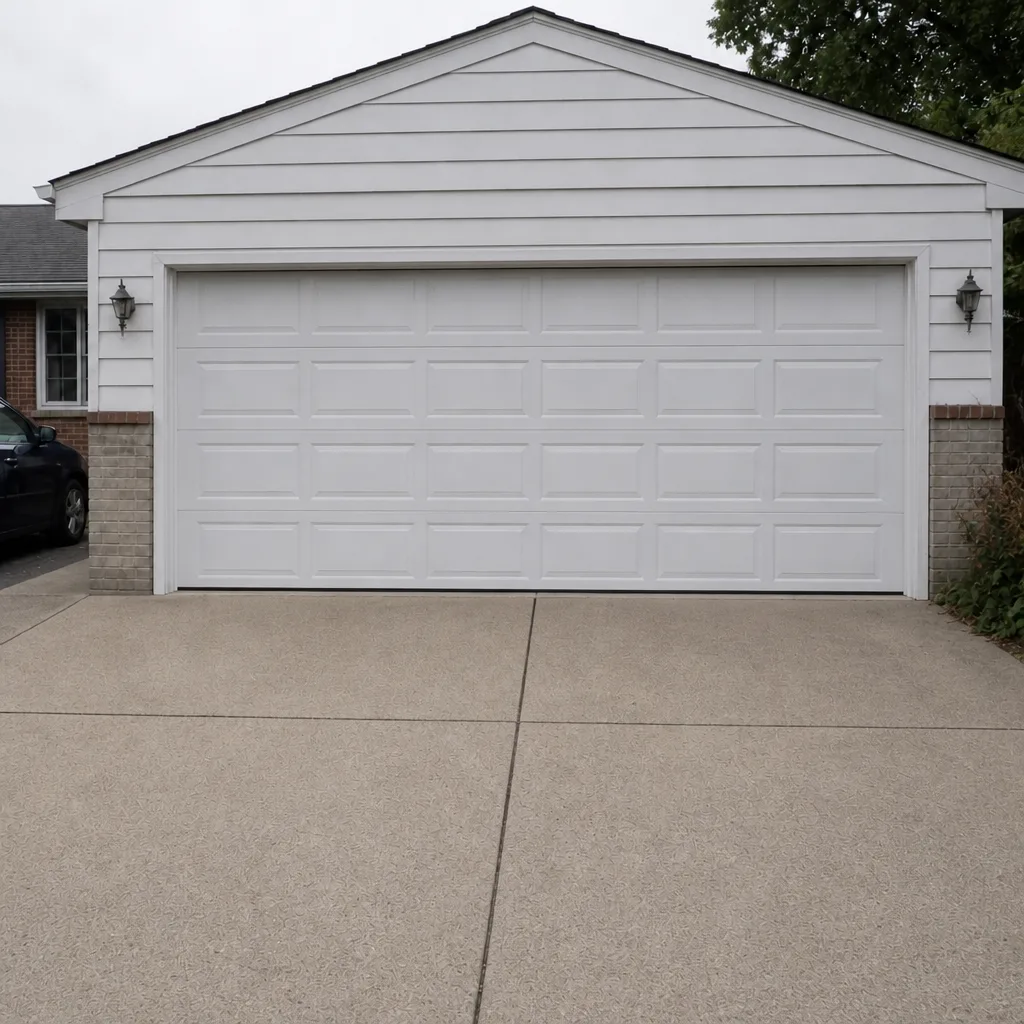
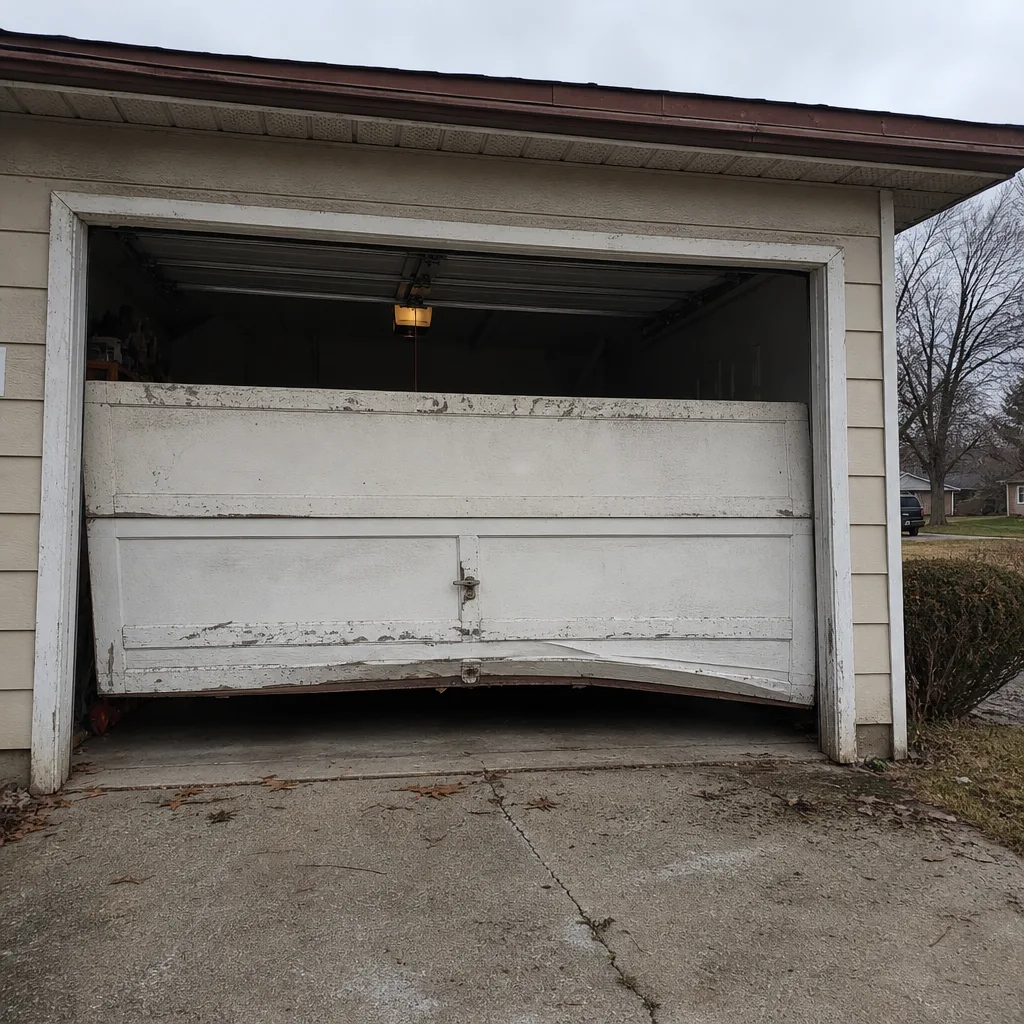
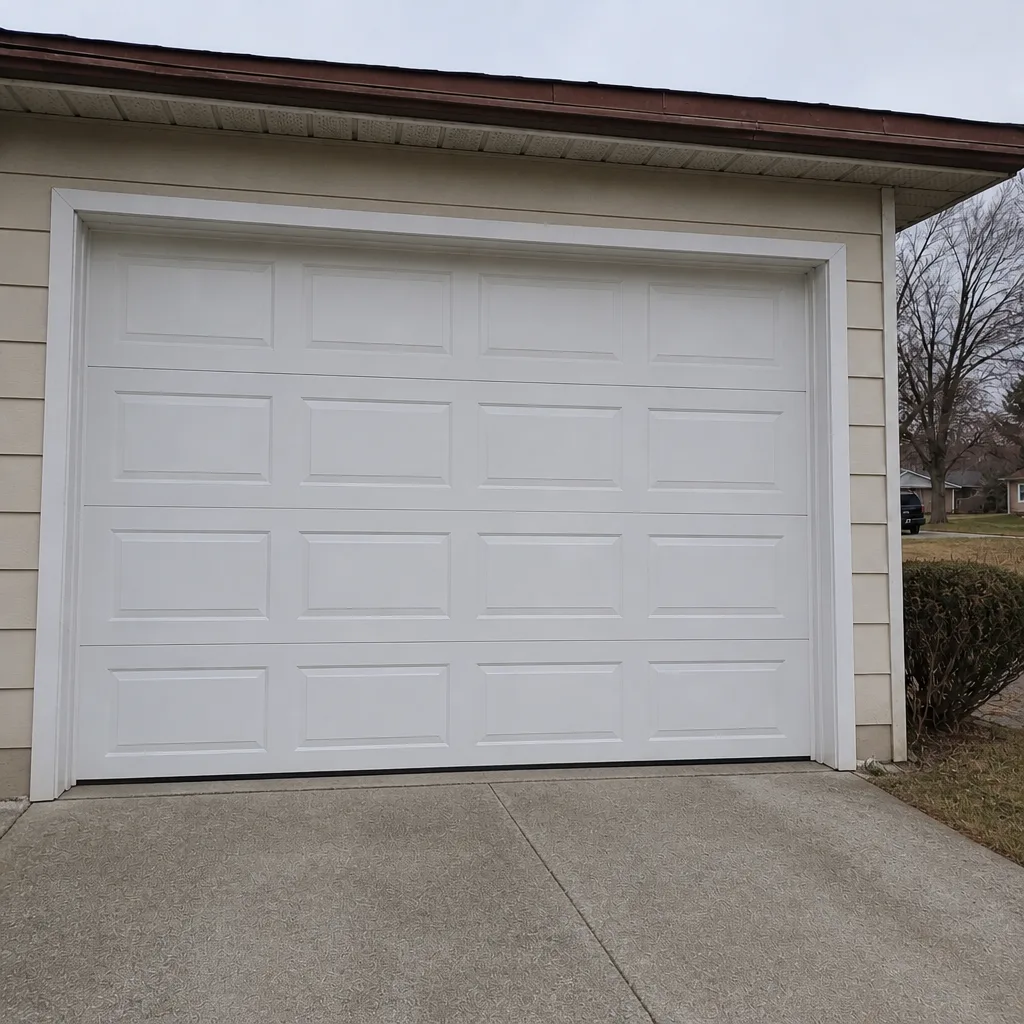
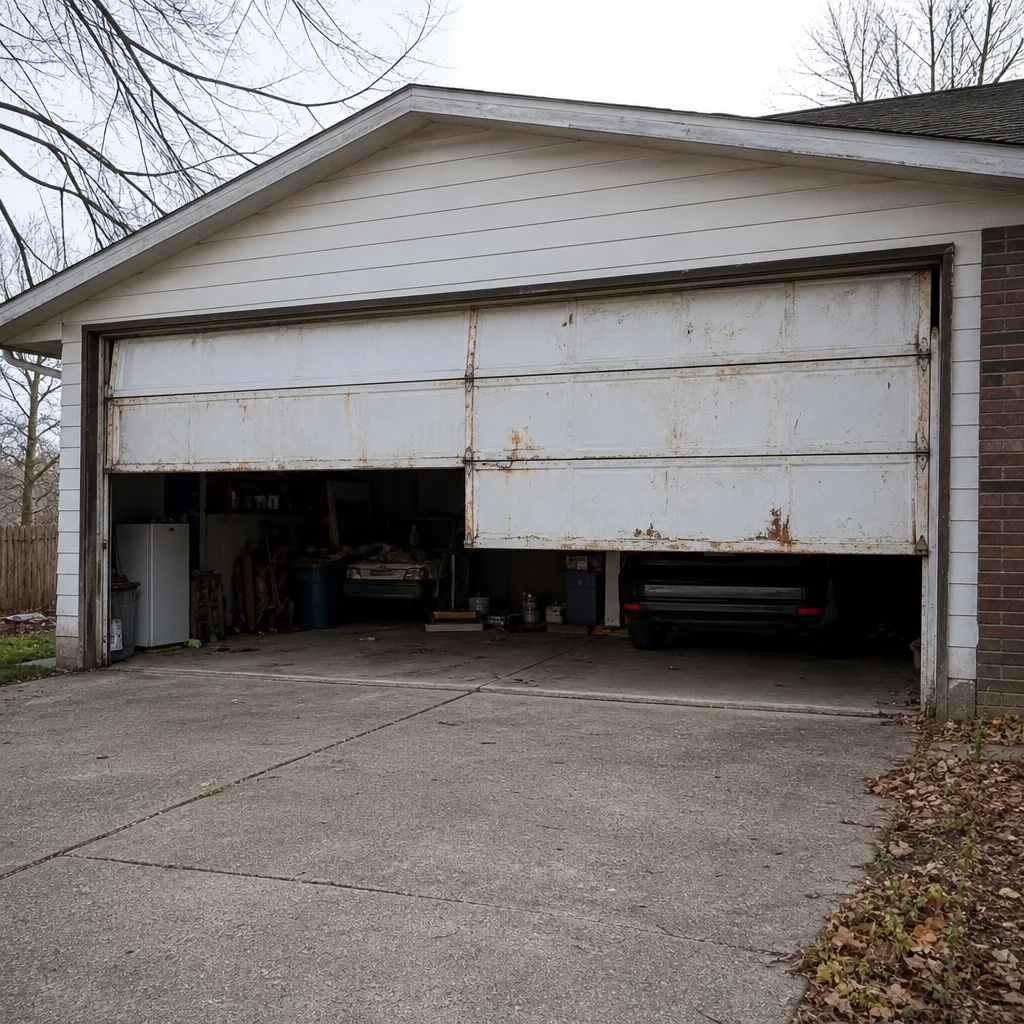
See the difference
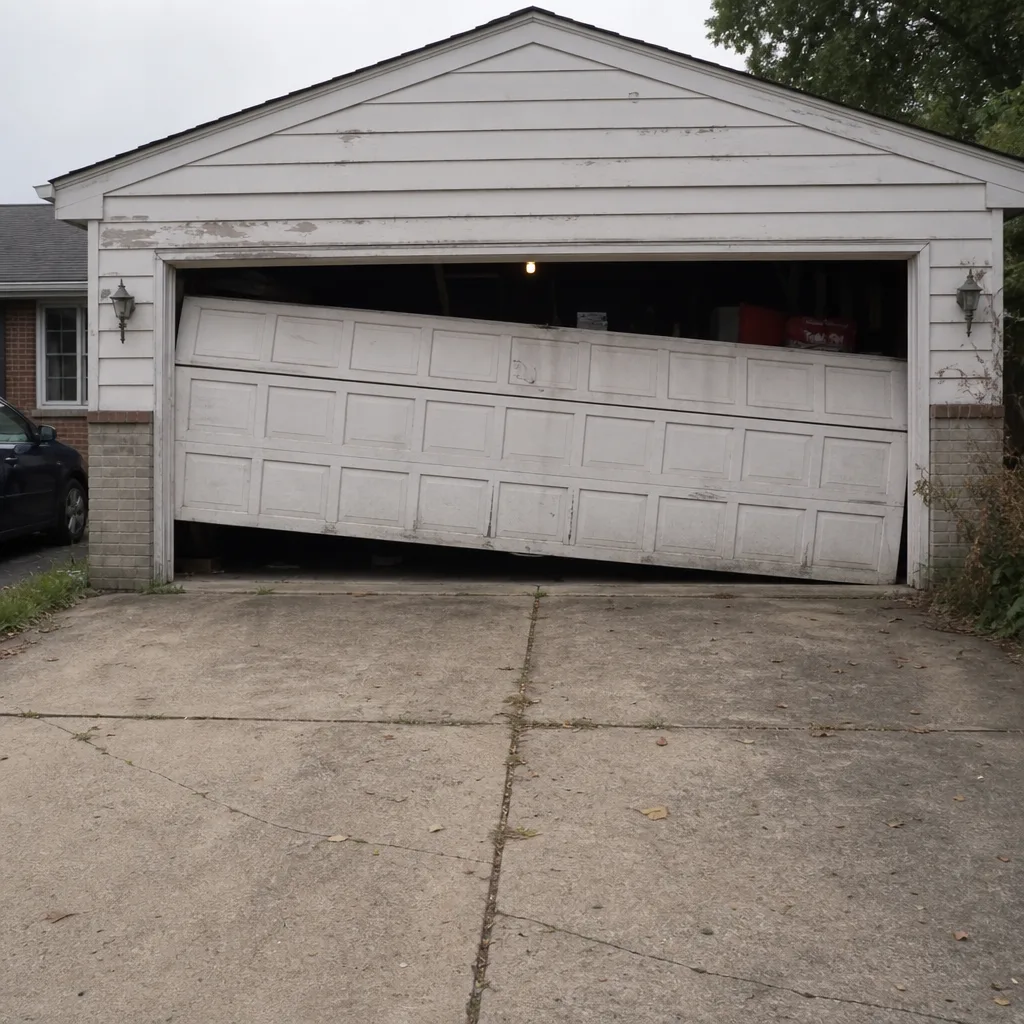 Before
 After
 Before
 After
 Before
 After
When to Call a Professional
Call a professional when the repair touches the counterbalance system (springs or cables), when the door has jumped its track, when the opener needs internal repair, or when a panel replacement is on the table. Those are the jobs where the risk of injury and the cost of rework both justify the call.
Call sooner rather than later if the door is stuck open, if you hear a loud snap, or if the door feels heavier than usual when you lift it by hand (with the opener disconnected and the door locked out). Those are signs the spring has failed or is failing, and continuing to operate the door makes it worse.
Garage Door Repair Ashburn offers free estimates in Ashburn – call (855) 337-1294 to get a written price before any work starts. We work on the brand already in your garage, from broken spring to full installation, and the price is quoted and agreed before a technician touches the door.
Frequently Asked Questions
No – torsion spring replacement should be handled by a trained technician. The spring is under enough tension to cause serious injury if it releases unexpectedly, and the winding bars and technique required aren’t tools most homeowners own. Call (855) 337-1294 for a free estimate on spring repair in Ashburn.
For safe tasks like lubrication, seal replacement, and photo-eye alignment, DIY is cheaper and a reasonable choice. For spring, cable, or opener repair, the professional quote is usually lower than the total cost of a DIY attempt that needs rework. The written estimate from a specialist is the honest comparison point – call (855) 337-1294 and get one before you decide.
Lubrication, weather seal replacement, photo-eye alignment, remote and keypad programming, track bolt tightening, and visual inspection are all safe DIY tasks. Anything that requires you to release tension on the door – springs, cables, track realignment – is not. If you’re unsure which category your repair falls into, that’s the moment to call.
Spring repair is quoted per job after a diagnostic, and the written estimate sets the final price. A single spring and a matched pair are different jobs, so the quote depends on what your door actually needs. Call (855) 337-1294 for a free estimate – estimates are free and the price is agreed before work starts.
A tutorial is useful for diagnosis and for the safe maintenance tasks, but it can’t teach the feel of a spring under tension or replace hands-on training. Use videos to understand what’s wrong, then call a specialist for the mechanical work. Our technicians have up to 10 years of experience, and that experience is what keeps the job safe.
Possibly. If a DIY repair contributes to an injury or property damage, a claim can be complicated by the fact that the work wasn’t done by a licensed professional. The safest path is to leave counterbalance work to a specialist and keep records of any professional repairs. Call (855) 337-1294 if you want the repair documented properly.
The Bottom Line
The DIY-vs-pro question for a garage door isn’t about confidence or frugality. It’s about which tasks carry genuine injury risk and which don’t. Lubrication, seals, photo-eyes, and remote programming are yours to handle. Springs, cables, track realignment, and opener internals belong with a trained technician.
The partial approach – you diagnose and prep, a specialist executes – is the practical middle ground for most Ashburn homeowners. It keeps your costs down and your risk low at the same time.
Whatever path you choose, the price should be quoted and agreed before any work starts. Garage Door Repair Ashburn offers free estimates in Ashburn and works on the brand already in your garage, from broken spring to full installation. Call (855) 337-1294 to get a written price and a straight answer.
Written by the team at Garage Door Repair Ashburn.